Propagation by seed

Many plants are easily grown from purchased or collected seeds.

Planting depth is related to seed size, the general rule of thumb is to plant it so the soil on top is about equal to the size of the seed.

Some seeds are placed on top of soil instead of being buried, they need light to germinate.

Planting time is usually spring or fall. Some seeds need a cold spell before germinating, cold stratification. This is typical of perennial plants that go dormant over the winter. After 6-8 weeks of cold ( in the ground or in your refrigerator ) plant them. Seeds that require a cold stratification usually won’t germinate until it is warm and moist after the cold spell.

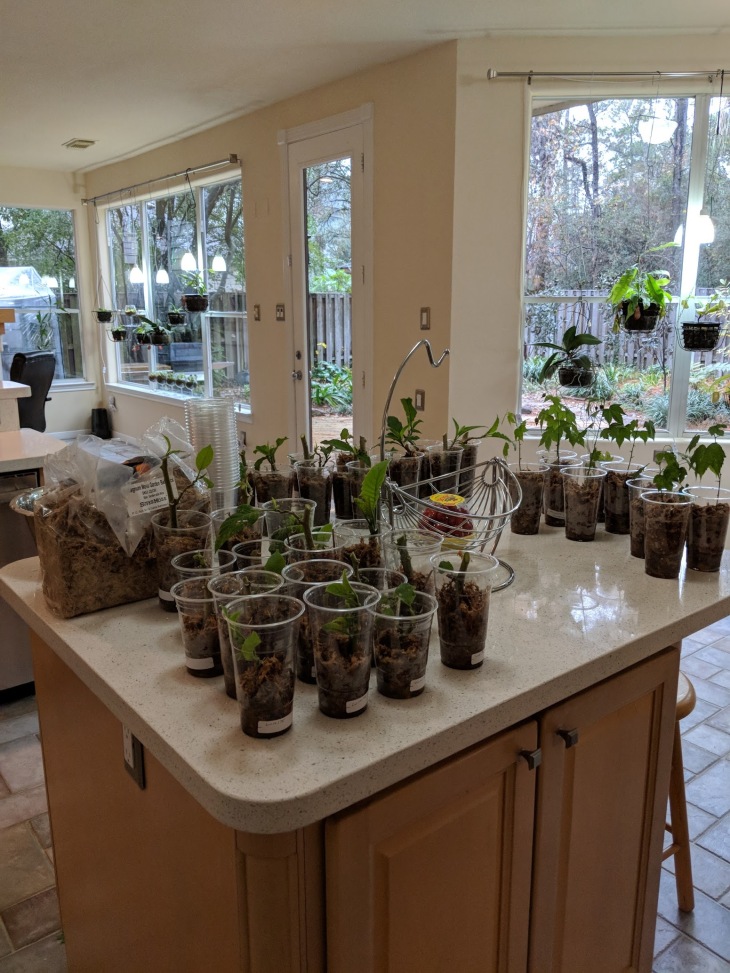
Seeds from annuals that die off in the cold are typically planted once the ground warms up. If you are trying to get a jump start on spring a warm window, radiator or electric skillet can be used to warm the bottom of the pots.

Hard, thick seeds such as those in the legume family may need to be scratched or nicked (scarification) before germinating. Large nurseries use chemicals, hydrogen peroxide or sulfuric acid, to scar the seeds. The reason for nicking the hard shell is to let in some moisture to kick start germination

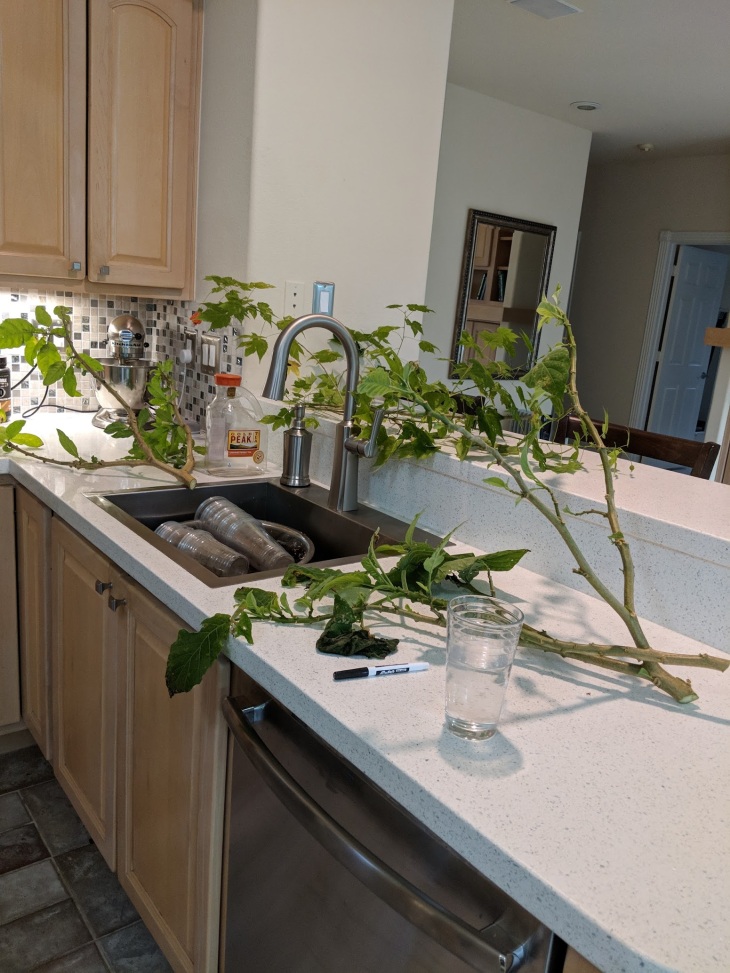
Seeds that are inside a fruit, tomatoes, citrus fruits…., need to be removed from the fruit and dried before planting. I remove the fruit and spread the seeds on a paper towel for a couple of days to dry them.

Most seeds can be stored for years if kept dry and at temperatures ~40’F-60’F

Fungus is a common problem when starting seeds in pots or indoors. Spraying with water usually kills off the fungus. More serious cases can be treated with copper ( available at most garden supply stores )

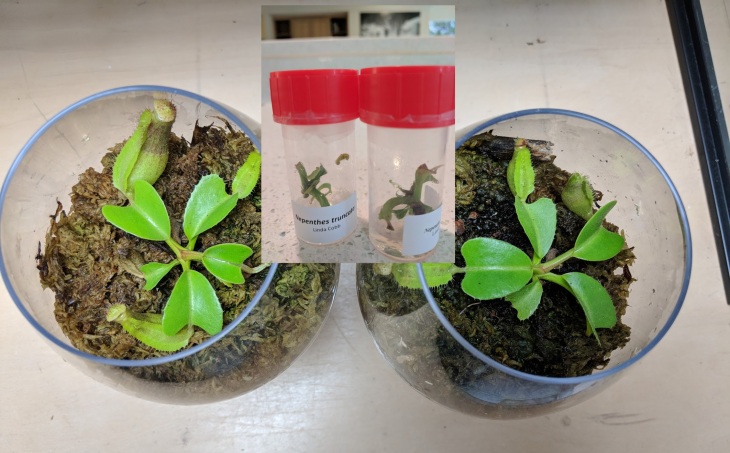
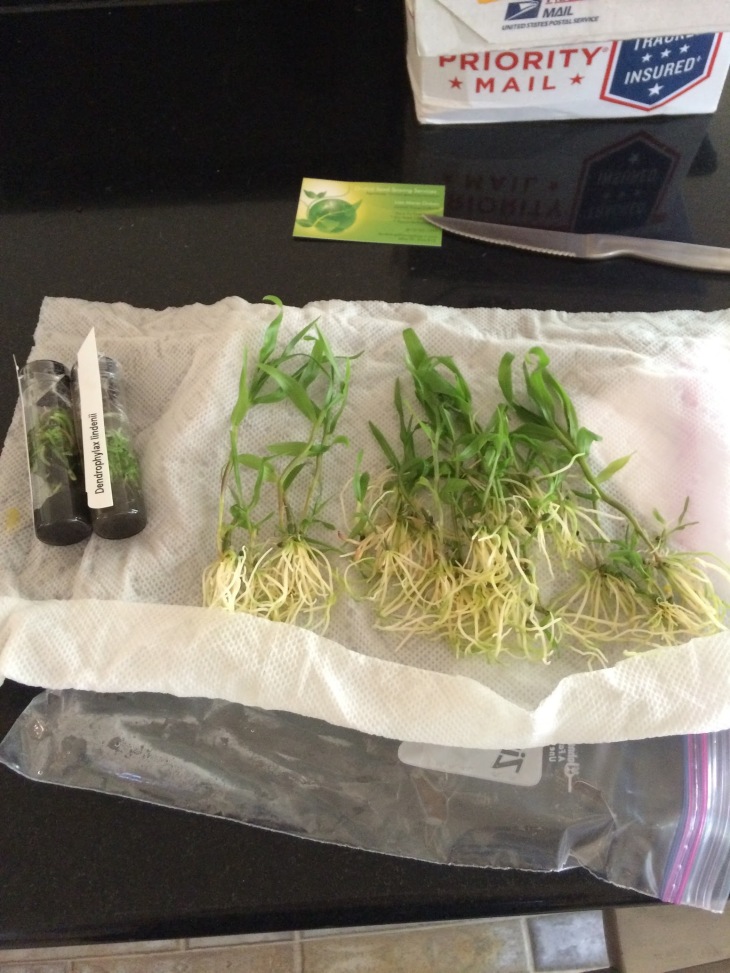
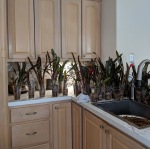
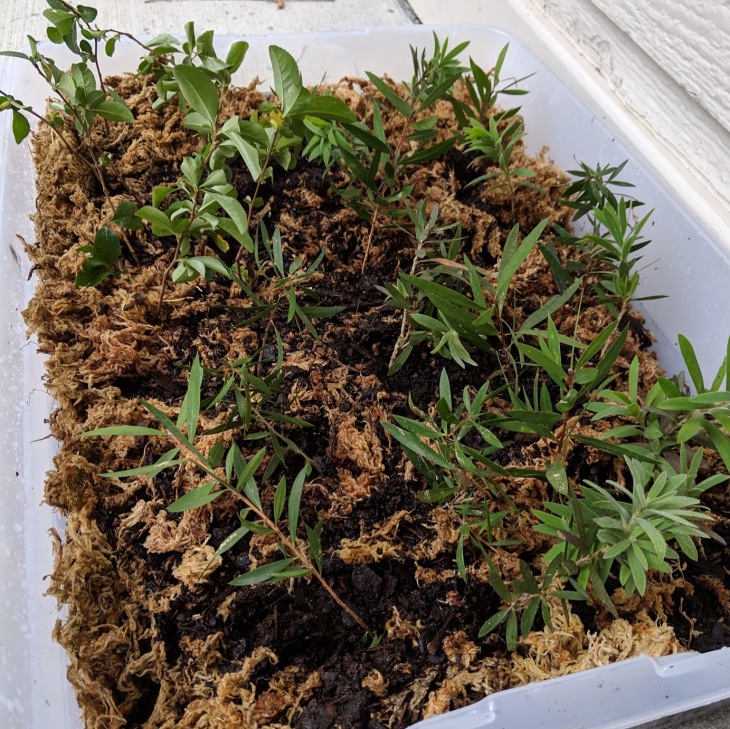
I find starting slow growing perennials, like carnivorous plants, work best in small terrariums where they’ll be humid and safe from damage. I use peat moss as the medium. Many take ~4 years to reach 3″ across.

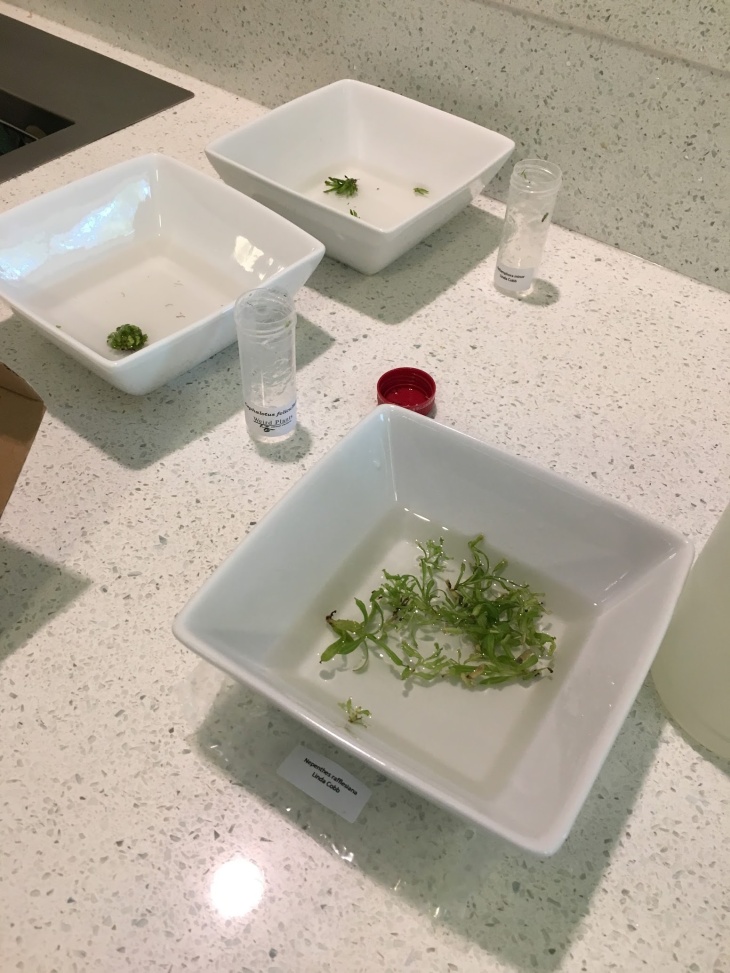
Test tube plants are growing in popularity. I haven’t had any success starting them myself, but I frequently purchase plants started in test tubes. You can find agar and test tubes online. The trick is to sterilize the tubes, mix and seeds with out killing the seeds.

I’ve also seen seeds started in test tubes half filled with water. Mine molded, I’ll try again when it’s too cold to go outside and putter in the garden.

Seed Germination Database
Seeds and Seedpods Database
Seeing the light: Scientists unlock seed germination process

Seeds: Species, F1, F2, F3

P1 Species seeds are from two parents of the same species or self pollination
— breed true

F1 seeds are hybrids created from two unrelated parents ( children )
— hardy crosses, usually vigorous, healthy plants, children usually look like the children

F2 are self pollinated F1s or pollinated by other F1s ( grandchildren )
— might look like parent, might look like mailman, most diverse, greatest diversity in this cross

F3 are self pollinated F2s or by other F2s ( great grandchildren )
— who knows? usually selected to strengthen an F1 trait

F4, F5, F6 can also be found

The ‘F’ is short for filia

Species seeds are the most expensive, each F? gets cheaper the farther you travel down the family tree

S seeds are self fertilized seeds that have been treated chemically, or otherwise, to create a mutation. It’s not an accepted botanical grading, but often used by hobbyists

Test tube plants

I first ran across test tube plants on eBay, which is a great source for them. Many nurseries who only sell in bulk to businesses and small shops and universities interested in conservation are using them to clone plants from tissue culture. Another common use is to start difficult seeds.

The plants are grown in agar ( a clear gelatin like substance ) with a bit of sugar and sometimes plant hormones. The supplies are easily found online.

I tried a couple of difficult seeds with out much success. Getting the seeds sterile without killing them is a bit of an art form. I’ll try some easier seeds next time.

This is a great way to buy expensive plants.

It’s a bit tricky deflasking them. All of the agar must be removed from the very tiny, fragile plants or it will mold and rot the seedling. I use toothpicks and a dish of water with about 15% bleach added. Soaking the seedlings helps.

Plants started this way do not have the coating necessary to retain water. They must first be placed in terrariums, under lights and steady room temperature. Slowly acclimate them to sunlight, temperature differences, and life outside the terrarium.

I’d start with a cheap flask of plants, it may take a few tries to get the hang of transferring them to a regular garden environment.

I plan to try starting more seeds in flasks, I’ll post the process and results.

More information:
Tissue Culture or Micropropagation
Atlanta Botanical Tissue Culture Lab
Virginia Tech, An Amateur in Vitro: Tissue Culture at Home

Propagation by division

Some plants won’t grow from cuttings; ferns, bromeliads… Those ones are easiest to propagate by division. I find dividing plants to be much easier than propagating from cuttings.

Wait until you have a good size clump of the plant. You’ll need to get leaves and roots on each division. Some plants can be gently separated by running them under water to remove all the soil then gently pulling apart. Others you’ll need to cut apart with a sharp razor.

I start most of new plants in sphagnum moss. It seems to keep the moisture more consistent and I have less problems with fungus and molds.

I like clear containers so I can keep an eye on the roots and moisture.

Divided plants don’t need any special care, I bump them up into larger pots or plant outside as soon as I see new roots or leaves.

Propagation by cuttings

Cuttings
Hardwood shrub cuttings
Planted shrub cuttings

ost plants are easy to clone from a cutting. Anything woody, shrubby, branched, or a vine will work.

Some plants, like Angel’s Trumpet, will only grow from hard branches, others only from the soft new green ones. Most plants will grow from both.

The new roots will grow from leaf nodes that are in water or soil. Remove at least 3 leaves, and put 3 nodes below the water or soil level. If you plant in soil be sure to keep the bottom stem at least a half inch off the bottom of the pot or it will rot. I find sphagnum is the best medium for getting cuttings started.

I like to use clear plastic cups, that way I can see when the roots appear and if they are getting enough, too much or too little water.

Some plants need a bit of rooting hormone to get started, almost all won’t need it. I find the powered rooting hormone easiest to use. Wet the stem and roll it in some of the powder before planting.

Remove most all of the remaining leaves. The plant has no roots so it can’t get water to the leaves. The less it starts with the better your chances. How many depends on the size of the leaves. I try to leave about 1-2 square inches of leaf surface. If need be cut a leaf in half.

Because there is not water going up to the plant you’ll need to keep the humidity very high. Use a terrarium, plastic cup, or a clear plastic bag to keep the moisture in.

When new leaves appear, slowly let the plant adjust to life outside the humidity closure. Once it’s been adapted ( 2-6 weeks ) Replant it in soil, outside if it’s to be an outdoor plant, in a pot if it’ll be indoors.